Digging in to Vuetify Layout
Buy or Subscribe
You can access this course in just a minute, and support my efforts to rid the world of crappy online courses!
I have a bad habit of ignoring things until they bite, which I suppose is another way of defining "Agile". Let's learn a bit more about our layout!
A Quick Tweak
I woke up in the middle of the night, like I do, and thought...
- Let's remove the background color of the side nav
- I think the next/prev buttons are floating on the video, can we fix that?
- I completely forgot to add a "completed" button
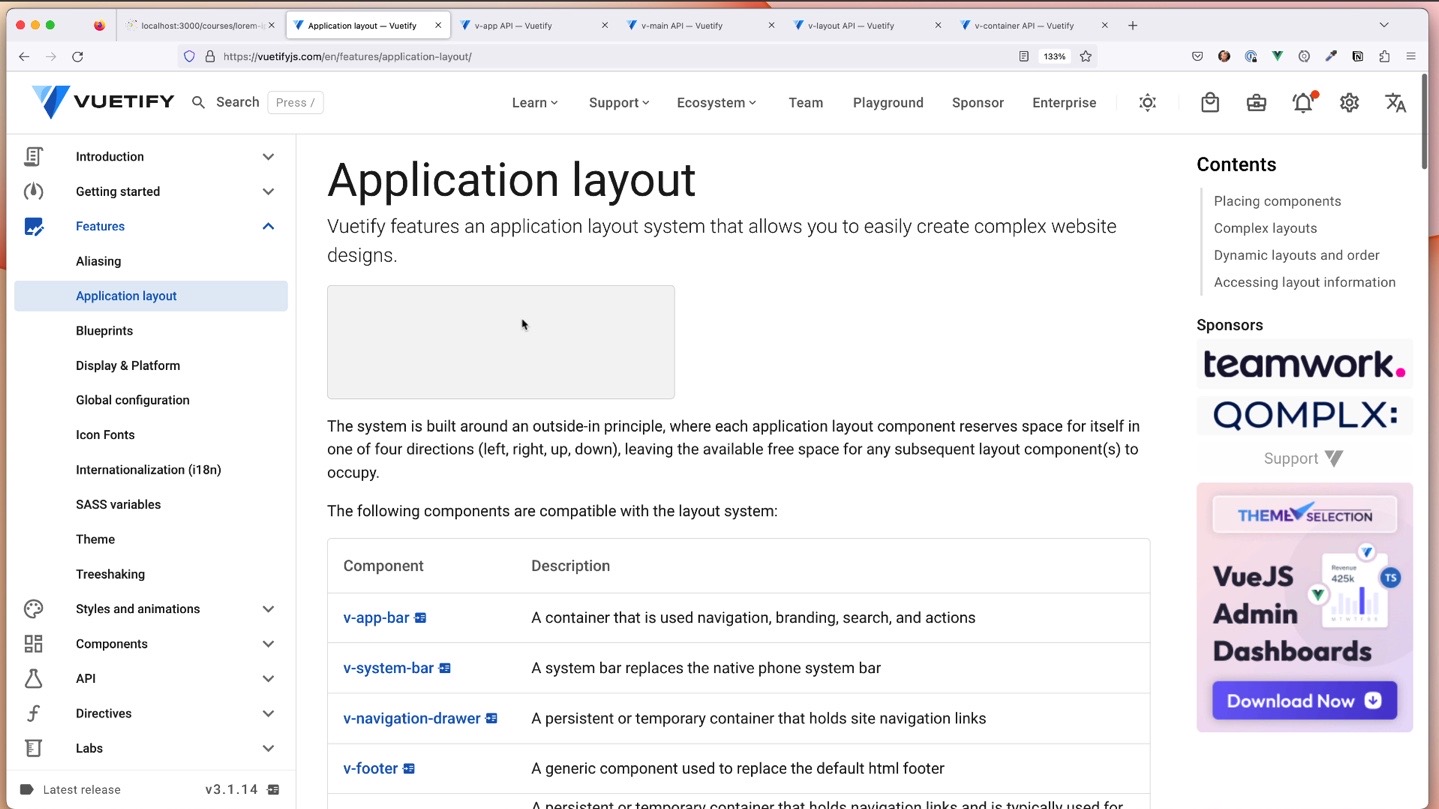
Digging in to application layout with Vuetify
App, layout, main, container... what goes where? I skipped over this, but we really need to know what's happening.
- Why does our
v-imgexpand to fill the space? - Are we using the right layout things?
Possible (and quick) refactor
A big challenge we have, given that we're learning this stuff, is to do our best to avoid technical debt! Let's make the changes we need now.
Post production errata
Off camera I did a little more CSS work and I'm taking a bit of gamble here! There's a difference between watching me work with Vuetify and watching me fumble with layouts.
I changed some colors around but I also found out that my transparent side nav was a bad idea on mobile devices! So I needed to do a conditional thing with Vuetify, which I found out you can do!
import { useDisplay } from 'vuetify'

const bg = computed(() => {
  const { name } = useDisplay();
  switch (name.value) {
    case 'xs': return "black"
    case 'sm': return "black"
    case 'md': return "black"
    case 'lg': return "transparent"
    case 'xl': return "transparent"
    case 'xxl': return "transparent"
  }
  return "transparent"
});
I'll go over this in the next episode but wanted to put the note here. The name setting tells you what breakpoint is active. You have to write code for each one, as you see, but here I'm able to conditionally set things, which works well.
Active List Items
I mentioned in the video that I would come back to the active-class bits but I edited that out because I struggled, once again, to get Vuetify to show what I wanted.
In previous versions of Vuetify I was able to use active-class in v-list-item to alter the text color and borders, but in this version of Vuetify active-class has an active-color counterpart, neither of which do what's expected.
Rather than faff about with CSS, I decided to move on as we have tons of content in front of us and what we have now is perfectly servicable.
Breakpoints and Video Layout
The weirdness I was having with the video layout not conforming to the container was due to the screen size I'm recording at, which is 1910x1080. This straddled the line between breakpoints and if I was off by a pixel, the xxl breakpoint was triggered, making the video span full width. If I was under that point, 1280 was honored. I like this, so I'm leaving it.
Using spacers for alignment
I forgot about this trick! You can use v-spacer to force center alignment for things and also do some tricky spacing if needed. I wanted to center-align my next/previous buttons so I popped in some v-spacers (attributes removed for legibility):
<v-app-bar>
  <v-spacer></v-spacer>
  <v-btn >Completed</v-btn>
  <v-spacer></v-spacer>
  <v-btn>Prev</v-btn>
  <v-btn>Next</v-btn>
  <v-spacer></v-spacer>
</v-app-bar>